If you have been reading our blog, you know that Josh and I are gardening this year! So to celebrate (and because
I can hardly remember what I planted where without clear
markers), I made some fun garden markers. You can easily access the supplies at any craft store and they end up costing less than a two dollars each. I
love the white-on-black chalkboard style that I have seen done on Pinterest, but creating them with chalkboard
paint and actual chalk seem so
impractical. Wouldn't the chalk just wash right off in the rain? With this
method, you create a chalkboard look without it being an actual chalkboard.
Same effect, but much more durable.
Supplies:
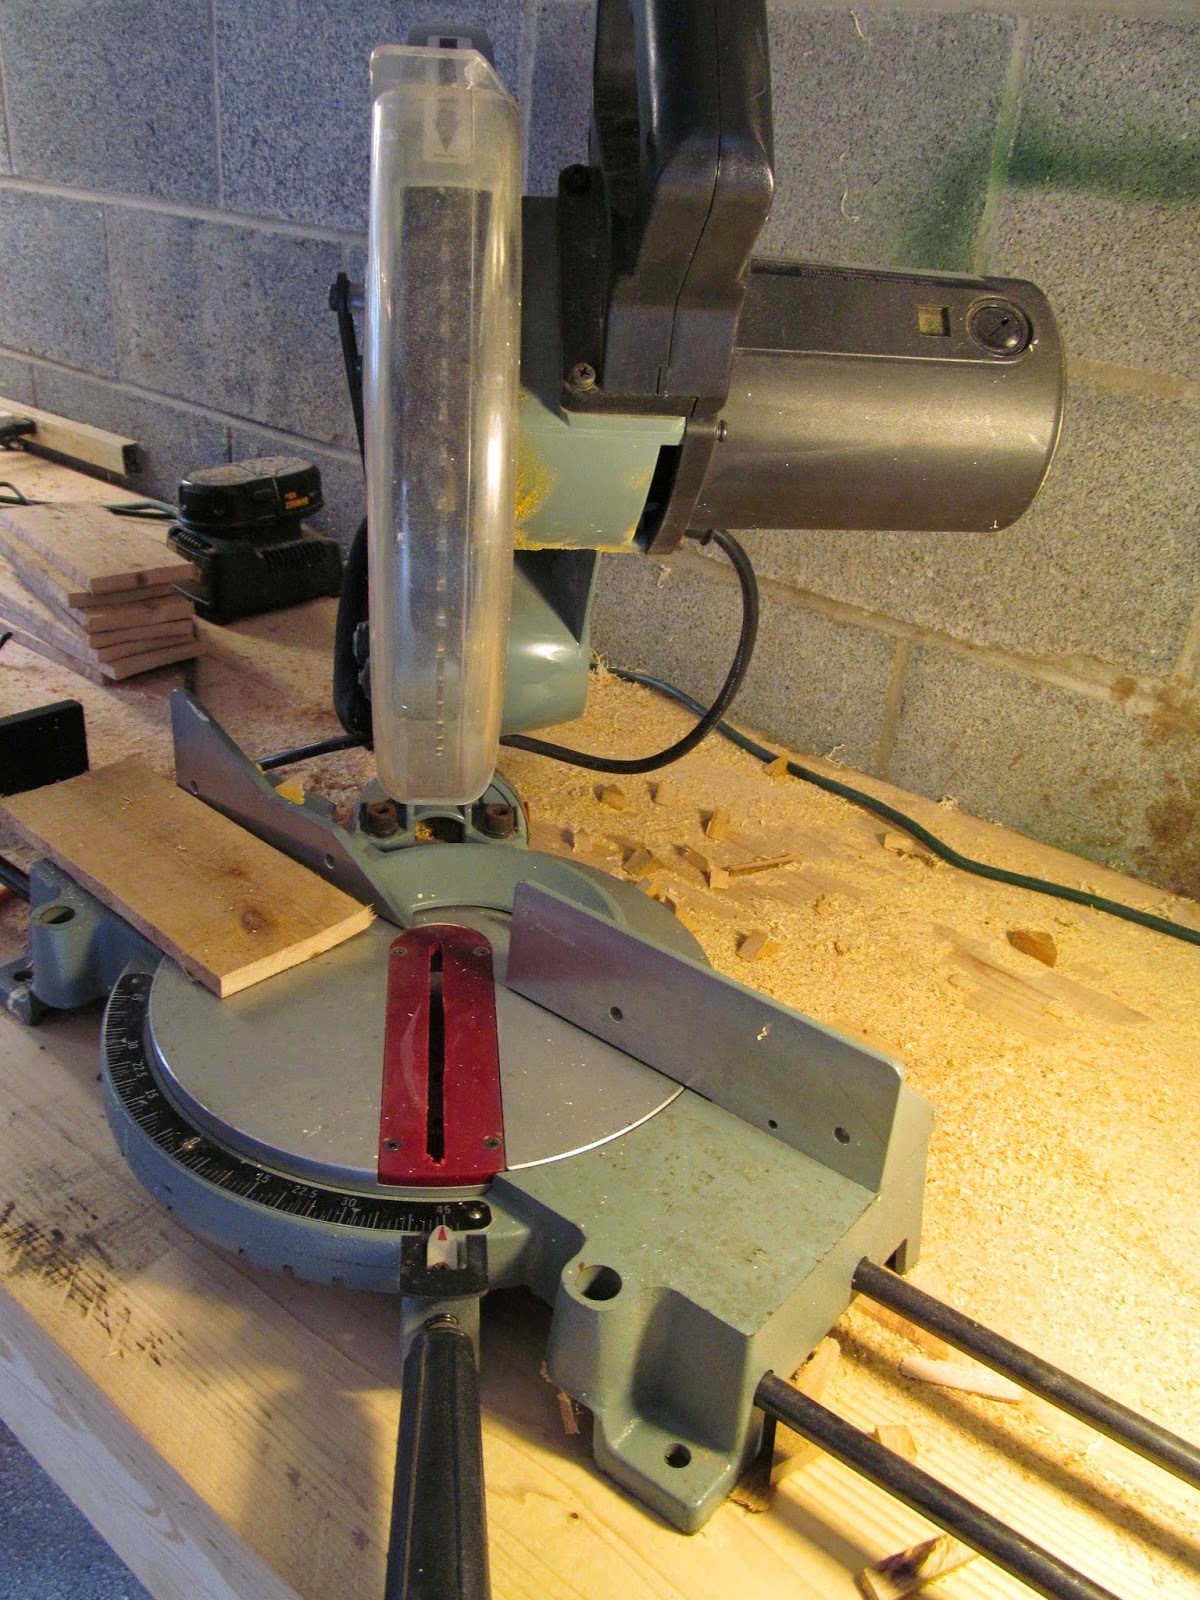
+ Wooden garden markers - can be purchased at Michaels, but Josh cut ours from pallet wood
using his saw.
+ Black spray paint of any kind
+ Foam brush
+ White paint pen - Sharpie brand worked great
+ Polyurethane - We used Helmsman's semi-gloss


1. Paint the top portion of each marker (both sides) with black paint. I
loved the brand I used because it only took one coat to cover the wood well.
Let these dry completely.

2. Use your paint pen to write the plant name on each marker. I wrote the names in pencil first, then trace over your
pencil lines with the paint pen. Let these dry completely.
3. Once dry, use the foam brush to coat each side with polyurethane,
which should keep them looking great, rain or shine. Let these dry completely,
too. It helps to prop them up in a bucket so that both sides dry at once.


By the way, did you know that you can plant marigolds for pest control? You should look it up! It is an experiment for us, we will see if it works...